Monday, April 4, 2011

Birthday Countdown!

My son's birthday is fast approaching and since he LOVES advent calenders (just like his mama)- I thought it would be fun to make one and help build the anticipation to his big day! 
I got most of my inspiration from Nap Time Journal's Cupcake countdown.... when I saw it, I knew I had to make one for myself.  
I have a lot of felt leftover from my felt playhouse so this project cost me nothin'.
I am planning on having him take away one candle a day (which are velcroed to the cupcake)- Doing this will leave us with the BIG orange one { permanently sewn on} to mark his big day! 
{I made a total of 9 removable candles so if we use all of them, the countdown is ten days prior to birthday, ten makes things a bit crowded.. but more fun- right!}
The candles are made with two pieces of felt and some yellow ribbon 
{notes: The backing and orange hook are both made out of two pieces of felt sewn together.}
This was such a fun and surprisingly quick project.
Let the countdown begin... I know one little guy who is pretty excited!!

Thursday, March 3, 2011

St Patrick's Day fun!!

So for those of you who have read my blog for awhile now may remember my LOVE I have for St. Patrick's Day. With the 17th fast approaching, I have found myself surfing for fun ideas during my mid night feedings.. ha!! I have found some GREAT ideas that I am excited to try and had to share!

Secrets of a Super Mommy posted last year 17 fun things to do for St Patrick's day. If you are going to go to any of these links... go to this one- Holy Smokes..... so many fun ideas!!!
She also has a list of foods you can eat to celebrate the day!

My Delicious Ambiguity also has a lot of great ideas: Lots of cute printable links and crafts/ learning activity for kids!

I LOVE this wreath!! Idea found at The Magic of Ordinary Things

Family fun is always a great resource for anything!!
My son and I may try this today-


and of course some fun Subway art at eighteen25

And for those that didn't catch my St Patrick's traditions and ideas last year here are some links....

Guest post over at Tatertots and Jello

If you have any fun traditions let me know!! I would be happy to add them to the list!

Saturday, February 26, 2011

Our Best Bites!!

I am so excited!!! I just ordered this cookbook-

I have been following Our Best Bites blog for years now and was SO excited to hear they were publishing their very own cook book!!! 

Some exciting things about this book (taken from their blog) include:


-A Rollover Ingredient list: which gives you ideas for what to make when you buy a unique ingredient and don't use the whole thing in one recipe.


-Recipe Tags: to easily spot things like quick and easy meals, or things you can make ahead.


-Serving suggestions: references for accompanying dishes to make meal-planning easy!


Plus tons of tips and mini tutorials!! And oh their pictures.....


I am positive I will be pleased with my purchase and can't wait to have a whole bunch of new recipes to try. (They have 40 new recipes not included on their blog)

Now I will just have to figure out how to cook with a 2 year old and a newborn!!

Sunday, February 20, 2011

Perfection

My big project is finally complete

and I must say (can't say this about ANY of my past projects) everything turned out perfectly!!!
So for now, I am just enjoying my {Perfect} little guy but will hopefully get back to doing
 "less perfect" projects here soon!!!

Until then, enjoy this amazing recipe. I couldn't get enough of it!!  I made it twice within 3 days-perfect for any nursing or non nursing mother! SOO good!!

Hershey's Hot Fudge Pudding Cake


Recipe found here (All Recipes)

Ingredients

  • 3/4 cup white sugar
  • 1 cup all-purpose flour
  • 1/4 cup HERSHEY®'S Cocoa Powder
  • 2 teaspoons baking powder
  • 1/4 teaspoon salt
  • 1/2 cup milk
  • 1/3 cup butter, melted
  • 1 1/2 teaspoons vanilla extract
  • 1/2 cup white sugar
  • 1/2 cup packed light brown sugar
  • 1/4 cup HERSHEY®'S Cocoa Powder
  • 1 1/4 cups hot water

Directions

  1. Heat oven to 350 F. Combine 3/4 cup granulated sugar, flour, 1/4 cup cocoa, baking powder and salt. Stir in milk, butter and vanilla; beat until smooth.
  2. Pour batter into ungreased 9-inch square baking pan. Stir together remaining 1/2 cup granulated sugar, brown sugar and remaining 1/4 cup cocoa; sprinkle mixture evenly over batter. Pour hot water over top; do not stir.
  3. Bake 35 to 40 minutes or until center is almost set. Remove from oven; let stand 15 minutes. Serve in dessert dishes, spooning sauce from bottom of pan over top. Garnish with whipped topping, if desired.

Enjoy!!


Saturday, January 22, 2011

Felt Playhouse!!

It's done!!
I was able to finish my son's felt playhouse just in the nick of time- right before we headed home for Christmas break. It was quite the process but well worth it and am very happy with how it turned out!!
Unless you are new to all the crafty blogs... you have most likely seen this playhouse at Homemade by Jill.
My friend and I loved hers so much we felt like we better not change it up too much :)
Thanks again Jill for the amazing idea and tips!!
Check out her site for great templates and suggestions on how to make your own!!


(on this side, the strawberries are velcroed on)

Tuesday, January 11, 2011

Grocery Bag Holder

Ok so I have been nesting like crazy over here.
  I stayed put all day yesterday due to some gross winter weather and began attacking 
areas of my house that needed a little organization!! 
One that was at the top of my list was the pantry.
After cleaning up the pantry, I saw this major problem lurking in the corner...
I was having a serious problem.....
 grocery bags were spilling out of this bag and taking up SO much space.
I remember seeing a tutorial here at Make it and Love It
(you can also see some cute examples here too!)
and decided I better make one for myself that night!

I must say this was one of my favorite projects..... weird because it's a grocery bag holder and will just be hanging out in the pantry......but it was a lot of fun to make!!! (and SUPER EASY!!!)
(before stuffed)

(after, all ready to be used)

So check out the directions and make one for yourself, or for a gift. I am always on the look out for fun homemade wedding gifts and think this would be a great one!!!

Sunday, January 9, 2011

3 tier serving tray

My SuPeR creative friend recently showed me a great way to make a 3 tier serving tray!!
 It was very simple and overall, a really fun project!! 
Unfortunately I only took one photo of my completed project before I gave it away to my cousin
 at her bridal shower, oh well- I think you can get the picture!!!

Here's how you make one for yourself

you need:
3 plates (I found mine at TJ Maxx for cheap, they had a lot of great options!)
3 cups-preferably with a handle to give it the antique/vintage look
Clear Caulk (or any strong adhesive)

The process is simple- start with your largest plate (if you are using different sized plates) 
and start stacking...
plate...cup....plate....cup....plate
There is no right or wrong way with how you position your cups (if they have handles) just focus on getting everything centered and it will look fabulous in the end!!!

Like everything I make... I now want one for every holiday and are constantly on the look out for fun cheap plates wherever I go!!!

Tuesday, December 14, 2010

Egg Nog Upside Down French Toast

A month ago I was browsing down the aisles at one of my favorite grocery stores 
when a sweet lady offered my son and I a sample of Egg nog and
this amazing Egg nog French Toast recipe.
She raved about it and I promised her I would make it.
Oh I am so glad I did.

It's way too good not to share and 
I know we will be making it at least every Christmas season!

Egg nog Upside Down French Toast
(* note the recipe calls for over night refrigeration!!!)
2T corn syrup
1/2 c butter, melter
1 C brown sugar
 2 eggs  beaten
1 1/2 C Egg nog
1/2 t vanilla
1/4 t salt
Ground cinnamon and nutmeg
French bread
Whipping Cream

Directions: Combine corn syrup, butter and brown sugar and melt over low heat. Pour into a greased 9X13 pan. Slice French bread into 2 inch thick slices and place on top of the syrup mixture. Mix the eggs, egg nog vanilla and salt together and pour over the bread. Sprinkle with cinnamon and  nutmeg. Cover and refrigerate over night. Bake at 350 degrees for 30-55 min. Serve with whipped cream!!!

Enjoy

Thursday, December 2, 2010

Advent Calendar!!

It's done!!
I am finally done with my Advent Calendar and seriously- just in the nick of time!
I sewed my last ornament last night and couldn't be happier with how it turned out!!

Ornaments

Here are a couple of my favs
Soldier
Angel (inspired by an angel ornament we had on our tree growing up)

Ok I really love them all


 I had a hard time making my ornaments small so if there is a next time making one of these- I will make my tree a bit bigger- but overall- it works!!
It took A LOT of time and work, but I am so glad I did it and think it will make many fun Christmas memories for my children!
Thanks again Jill for the great idea!!

Monday, November 29, 2010

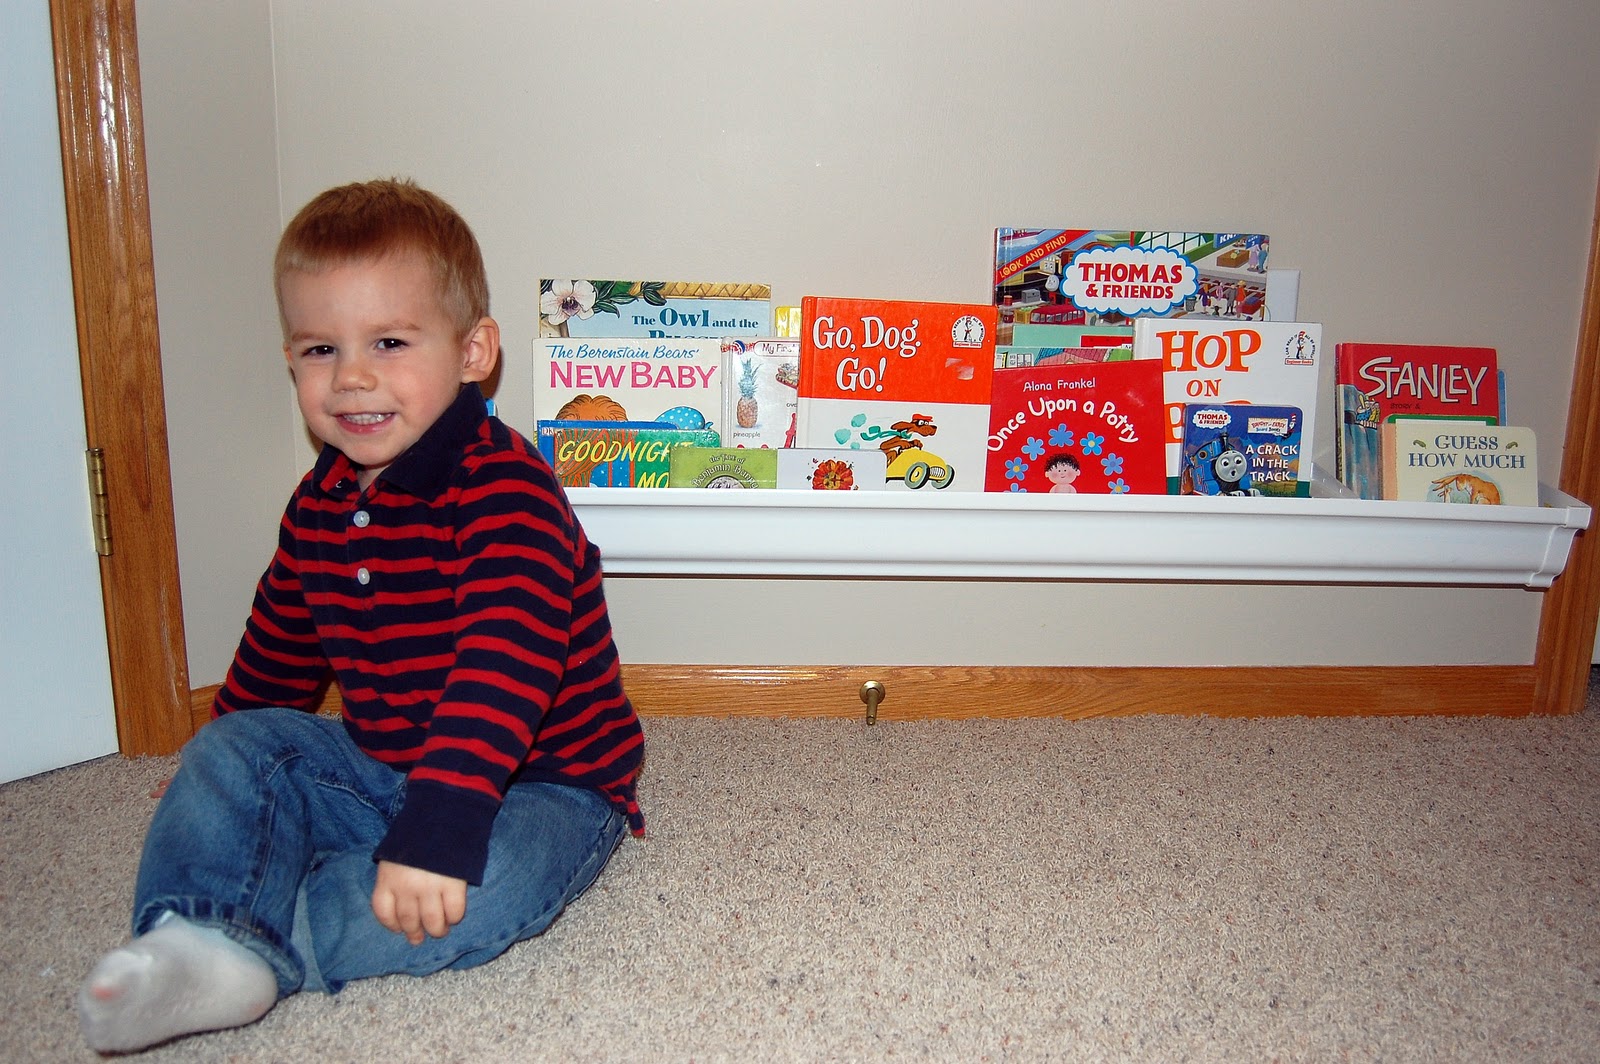
Rain Gutter Book Shelves

Over the Thanksgiving break while I had my husband's undivided attention-
 I put him to work on a project I have been wanting to get done for a long time!!

Rain Gutter Book Shelves

My friend told me about this idea she saw over at
U create and after I saw them in her home, I knew I had to have them!!!
Someone came up with the idea to use a rain gutter as a book shelf...... genius!

This would not have been an easy project if my husband didn't do everything- but since he did- it was one of my favorites projects yet!!

My boy loves his little shelf!! It's so fun to have a place to display and store some of his books
You can find all the info and directions here

(Iowa girls, I have some left over- let me know if you want one for way cheap!)

Monday, November 22, 2010

I {Heart} Pumpkin

This is by far one of my all time favorite Thanksgiving decorations
I feel like it does a pretty good job explaining my LOVE for pumpkin!
I'm pretty much obsessed with it!
 Back in nursing school, it was such a delight to find out that my 3 close friends all loved pumpkin just as much as me. One day, my friend brought a whole book of pumpkin recipes to pharmacology class and so of course we all spent the whole class period copying down recipes. I even made my other friend get a little teary eyed when describing Cold Stone's pumpkin pie ice cream combo. So great!!

So since it's Thanksgiving week, I thought I would share our favorite pumpkin pie recipe. 
It was made very clear by my dear husband that his mom's pumpkin pie was his favorite and the only one he would truly love. After 5 years of perfecting it, I would agree- it's pretty delicious.....

So here it is....
Extra Good Pumpkin Pie
1 1/2 c canned or mashed cooked pumpkin
3/4 C sugar
1/2 t salt
1 t ginger
1 1/4 t cinnamon
1/2 t nutmeg
1/2 t cloves
3 slightly beaten eggs
1 2/3 c evaporated milk (one can)
Combine pumpkin, sugar, spices, salt. Add eggs, mix. Add milk, blend. Pour into a 9 inch pie crust. 
Bake 400 for 15 min then reduce to 325 and bake 45 min longer
 or until knife inserted comes out clean

Pumpkin pie not your thing?? (btw... I feel sad for you :) !!)
Here are some other pumpkin recipes that may fill the void.....
 Dana from the MADE blog made my life when she posted about her love for pumpkin and had a Submit your Pumpkin Recipe series- you can find SO many great recipes here

Also, we had these last night- they were very tasty!!!
here is another amazing pumpkin list
and
I made these Pumpkin Cinnamon Rolls last week- (recipe found here at Idea Room)
and they didn't disappoint!

I better stop now...

Happy eating!!


Wednesday, November 17, 2010

Major Crush....

on this wreath!
Seen over at Oh Happy Day

Info on how to make it here at Pickles.
If I didn't have 100 things on my to do list, maybe I would attempt to make this... maybe. 
But for now, I will just have to enjoy looking at it

TuRkEy HeAdBaNd!!

My craft addiction started full force with this project last year


Like my son's skeleton costume, my inspiration came from Pottery Barn.
It was one of my first projects where I had no formal directions, just an idea to go off of.
Looking at it this year, I realize there are many things I could have done differently (like making the feathers a little bit smaller...) -
 but the fun is in learning right....
Overall, this was a fun project and taught me that homemade opposed to store bought can sometimes be more exciting!

Tuesday, November 16, 2010

Baked Potato Soup

This soup is SO tasty and perfect for a cold fall day. 
We had it tonight and it just hit the spot so I thought I better share!!
(recipe from Favorites..like always!)

3 T butter
1 cup finely chopped onion
2 T flour
1 (14 1/2 oz) can chicken broth
4 medium baking potatoes, peeled and cut into 1/2"cubes
1/2 t salt
1/4 t white pepper
1/4 t black pepper
1 t dried basil
dash Tabasco sauce
1/2 t garlic salt
1 cup half & half

Garnish with:
Grated Cheddar Cheese
Sour Cream
Crumbled Bacon
Chopped green onions
(these are ALL a must!!)

Melt butter in a pan on medium heat. Add onion and saute for 2 min. Sprinke flour over the onions and cook about 5 min, stirring often. Gradually add chicken broth. Add potatoes salt, white and black pepper, basil, Tabasco and garlic salt. Bring to a boil, reduce heat to low and simmer 20 min. Stir occasionally. Stir in half and half; heat through. Serve with garnishes. Serves 4, but doubles easily

Enjoy!!

Thursday, November 11, 2010

Thanksgiving Banner

 My mantle was looking pretty plain this year after putting all my Halloween decor down. Even though it is a short time until we will put up our Christmas decorations, I decided to make something to spruce it up.
I pulled a couple ideas I have seen recently together and came up with this


This was pretty simple, just took a bit of time to put together.
I cut each of my squares 6X8 (however now measure 5X7 after front and back pieces sewn together) 
As you can see, this is not hanging up on my little mantle- it was way too big but I like it this way- so you can  obviously adjust your square size to fit where you want it to go

My letters are felt and embroidered on using a back stitch
I originally planned
 on attaching rings onto each little panel through an eyelet
and then threading some sort of rope through but
in the end decided on using ribbon to attach everything together
-I still may change it later on, but for now, I am happy!

Sunday, November 7, 2010

Free Holiday Cards from Shutterfly.....

One of my many FAVORITE things about the holiday season is sending and receiving Christmas cards. It is something I think about and plan for at least 6 months out of the year. As a child, I would love opening the mail each day to see whose Christmas cards we received! 
This year, I came across some amazing cards and a great deal over at Shutterfly

Not only are these holiday cards darling and festive, they are affordable.
So many cute ones to choose from

I love the font on this one

 Fun and unique design

Can't go wrong with a little Christmas polka dots

I just love everything about this one

(I even left out some of my favorites that I may use for our family's card)

They even have super cute invites for all your Christmas parties you plan to throw!!


In the past, I have just made my own Christmas cards, 
but this year, I am having a hard time passing up this great offer


So my Blogging Friends....
Do you want 50 free holiday cards from Shutterfly? 
for information on how you can get 50 free cards this holiday season